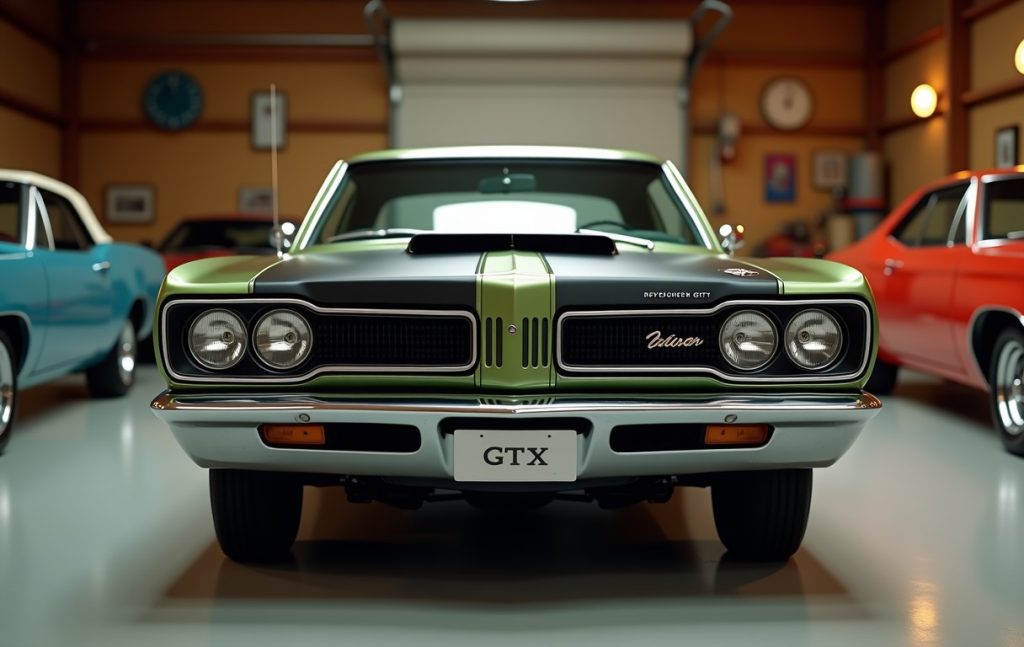
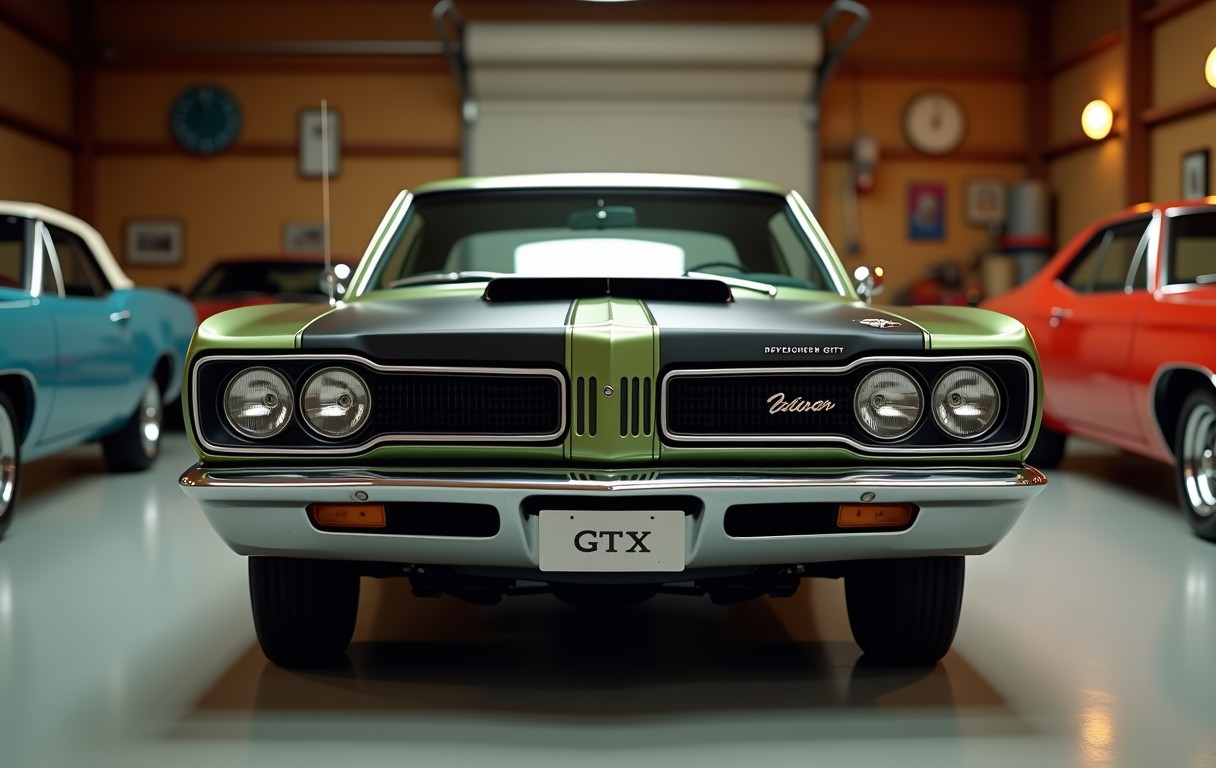
The Plymouth GTX remains one of the most celebrated muscle cars from the late 1960s, and its reputation for raw power and distinctive styling still draws enthusiasts to garages across the country. Owners who choose to keep a GTX on the road often discover that the car’s classic components demand a level of hands‑on care that modern vehicles simply do not. While professional shops can handle major overhauls, many GTX fans find that a well‑planned DIY approach not only saves money but also deepens the connection between driver and machine. This article walks you through the most common repair challenges, essential tools, and practical step‑by‑step procedures that will keep your GTX performing at its historic best.
Why the Plymouth GTX Holds a Special Place in the Hobbyist Community
First introduced in 1967, the GTX was Plymouth’s answer to the high‑performance market, boasting a 440 cubic inch V8 that produced up to 425 horsepower in the 1970 model year. Its aggressive grille, dual exhausts, and optional “Super Stock” package gave it a visual edge that still turns heads at car shows. Collectors appreciate the GTX not only for its raw speed, but also for the relative ease of accessing many of its mechanical parts compared with other muscle cars of the era. The car’s simple carburetor setup, leaf‑spring suspension, and straightforward brake system make it an ideal candidate for DIY repairs, allowing hobbyists to learn fundamental automotive skills while preserving a piece of automotive history.
Beyond raw performance, the GTX’s cultural significance fuels a vibrant community of online forums, meet‑ups, and parts swaps that keep the model alive long after production ended in 1971. Owners often share stories of restoring original components such as the iconic “cowl‑induction” hood or the distinctive “GTX” badging, which can increase a vehicle’s value by 15 to 20 percent when done correctly. This sense of camaraderie encourages many owners to tackle repairs themselves, knowing that a supportive network stands ready to offer advice, source rare parts, and celebrate each successful restoration milestone.
Typical DIY Repair Scenarios for the GTX
One of the most frequent issues reported by GTX owners is the deterioration of the cooling system, especially the radiator and thermostat housing, which were prone to corrosion due to the car’s original steel construction. Over time, coolant leaks can develop, leading to overheating and potential engine damage if not addressed promptly. A simple pressure test of the cooling circuit can reveal even small leaks, and replacing the radiator with a refurbished aluminum unit often restores proper heat dissipation for under $300 in parts. Additionally, many hobbyists find that swapping the original cast‑iron exhaust manifolds for a stainless‑steel upgrade reduces heat soak and improves exhaust flow, a change that can be completed in a single Saturday afternoon.
Another common repair involves the rear axle, where the leaf‑spring suspension and rear‑end bearings may develop wear after decades of service. Worn bushings can cause clunking noises and uneven tire wear, prompting owners to replace the rear‑end bearings and re‑adjust the leaf springs to factory specifications. The GTX’s rear differential, typically a 3.73 gear ratio, is accessible from beneath the vehicle, allowing DIYers to replace seals and replenish gear oil without needing a lift. Performing these tasks not only restores smooth handling but also helps maintain the classic driving feel that makes the GTX so enjoyable on twisty roads.
Setting Up a Safe and Efficient Workspace for GTX Repairs
Before lifting a GTX off the pavement, it is essential to create a clean, well‑ventilated workspace that protects both the car and the mechanic. A sturdy two‑post garage lift or a set of quality jack stands rated for at least 6,000 pounds will keep the vehicle stable while you work under the chassis. Investing in a basic tool set that includes a 3/8‑inch drive impact wrench, a set of metric and SAE sockets, and a torque wrench will cover the majority of bolt‑tightening tasks, especially when reassembling suspension components that require precise torque values such as the rear‑end axle housing bolts (often specified at 80 foot‑pounds). Adding a magnetic tray for fasteners and a portable shop vacuum will keep the area tidy and reduce the chance of losing small screws or washers.

Lighting is another critical factor; LED work lights with adjustable arms provide bright, shadow‑free illumination that makes it easier to spot cracks in the radiator or corrosion on brake lines. Safety equipment should include gloves, safety glasses, and a fire‑resistant blanket in case of fluid spills near hot engine parts. Finally, keeping a repair manual specific to the 1967‑1971 GTX model within reach will save time, as it contains torque specifications, wiring diagrams, and part numbers that are indispensable when performing DIY repairs on a classic vehicle.
Step by Step Guide to Overhauling the GTX Cooling System
The first step in any cooling system overhaul is to drain the old coolant and flush the system with distilled water to remove rust particles and scale buildup. After the engine has cooled, open the radiator drain plug and let the fluid run completely, then close the plug and fill the radiator with a mixture of water and a non‑ionic coolant flush agent. Run the engine for ten minutes at idle, allowing the flush solution to circulate through the heater core and thermostat housing before draining it again. This process eliminates most contaminants that could clog the narrow passages of the original cast‑iron radiator.
Once the system is clean, replace the thermostat with a new unit rated for 180 degrees Fahrenheit, and install a high‑flow water pump if wear is evident on the impeller blades. Re‑seal the radiator with new gaskets and install a refurbished aluminum radiator, taking care to align the mounting brackets exactly as the factory specifications dictate. Re‑fill the system with a 50‑50 mix of ethylene glycol coolant and distilled water, bleed air from the system by opening the bleed screw on the thermostat housing while the engine runs. Finally, perform a pressure test at 15 psi to confirm the absence of leaks, and tighten the radiator clamps to the manufacturer’s torque setting of 50 foot‑pounds.
Restoring the Exterior: Paint, Chrome, and Trim Preservation
Exterior restoration begins with a thorough wash and de‑contamination using a clay bar to remove embedded road grime and industrial fallout that can interfere with paint adhesion. After the surface is smooth, a light sanding with 600‑grit sandpaper prepares the original factory paint for a fresh coat of enamel or modern urethane finish. Many GTX owners opt for a period‑correct color such as “Plymouth Blue” or “Satin Red” to preserve authenticity, and a professional spray gun can apply the base coat evenly across the large panel surfaces. Once the base coat cures, a clear topcoat adds depth and protects the paint from UV exposure, extending the life of the finish for years to come.
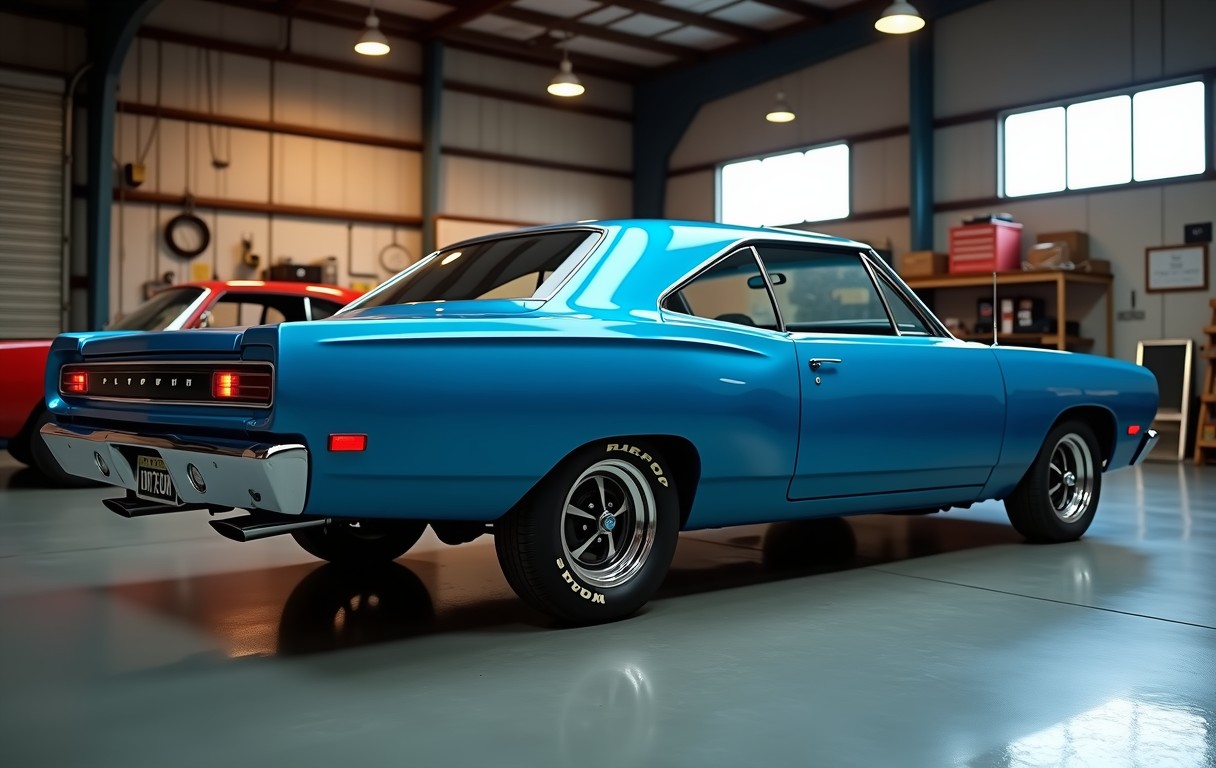
Chrome trim, including the grille, bumpers, and side mirrors, often suffers from pitting and oxidation after decades of exposure. A gentle polishing compound applied with a soft microfiber pad can restore shine, but heavily corroded pieces may require a chemical chrome dip to rebuild the surface before polishing. For the iconic “GTX” badges, many hobbyists choose to refurbish the original plastic or metal emblems rather than replace them, using a fine‑grit sandpaper to smooth out surface imperfections and then applying a clear coat to protect the restored lettering. Properly maintained exterior elements not only enhance the car’s visual appeal but also increase resale value and protect underlying metal from rust formation.
Maintaining the Drivetrain: Clutch, Transmission, and Rear End Care
The GTX’s four‑speed manual transmission, paired with a heavy‑duty clutch, is a frequent target for DIY maintenance due to the high torque output of the 440 V8 engine. When clutch slippage becomes noticeable, a complete disassembly of the bell housing allows inspection of the pressure plate, release bearing, and clutch disc for wear. Replacing the clutch kit with a performance‑grade set that includes an upgraded pressure plate can handle the engine’s power while providing smoother engagement. Torque the clutch assembly bolts to 90 foot‑pounds, and double‑check the flywheel surface for glazing before installing the new components.
Transmission fluid changes are equally important; the GTX’s manual gearbox uses a specific gear oil with a viscosity of 80W‑90, and a full drain and refill should be performed every 30,000 miles to prevent gear wear. The rear differential, typically filled with 75 weight gear oil, benefits from a similar service schedule, with seal replacement recommended whenever the oil is changed to keep contaminants out. By regularly checking oil levels, listening for abnormal noises, and adhering to the manufacturer’s service intervals, owners can keep the GTX’s drivetrain responsive and reliable, preserving the exhilarating driving experience that made the car a legend in the first place.

Ever since I bought my first used pickup truck, I’ve been obsessed with finding the perfect blend of off-road capability and weekend comfort. I spend my free time exploring state parks and tinkering with restoration projects in my garage. My writing focuses on how vehicles can enhance your lifestyle and outdoor adventures.