There’s nothing quite like the satisfaction of pulling into a parking spot and seeing your car gleam under the sun, every detail polished to perfection. For enthusiasts who take pride in their ride, DIY car detailing isn’t just about aesthetics, it’s about preserving the integrity of your vehicle’s paint, interior, and mechanical surfaces while avoiding the cost and time commitment of professional shops. Whether you’re a weekend warrior with a classic muscle car or a daily driver who wants their ride to turn heads, mastering the basics of DIY car detailing will save you money and keep your vehicle looking its best for years to come.
The Science Behind a Spotless Finish: How Paint Chemistry Works
The first step to understanding DIY car detailing is recognizing that your vehicle’s paint isn’t just a flat surface, it’s a multi-layered system designed to protect against UV rays, minor scratches, and environmental contaminants. Modern automotive paint typically consists of a base coat, clear coat, and sometimes a ceramic or polymer top layer. The clear coat, which can be up to 10-15 microns thick, acts as a sacrificial barrier, absorbing minor abrasions while keeping the underlying paint intact. When you wash your car, you’re not just removing dirt; you’re preventing these contaminants from embedding into the clear coat, which can lead to swirl marks and oxidation over time. Using the wrong tools, like stiff brushes or abrasive sponges, can actually scratch the clear coat, turning a simple wash into a battle against premature paint degradation.
For enthusiasts who want to go beyond basic cleaning, products like synthetic sealants and ceramic coatings work by forming a protective layer that repels water and contaminants. These coatings bond chemically to the clear coat, creating a smoother surface that’s easier to clean and more resistant to environmental damage. However, they’re not magic, applications require precision, and improper use can leave streaks or even damage the paint. If you’re considering a ceramic coating, research the application process thoroughly, as mistakes can be costly to fix. The key is to start with a perfectly prepped surface, meaning no wax, polish, or contaminants left behind before applying the coating.
Waterless Car Wash: The Quick Fix for Busy Owners
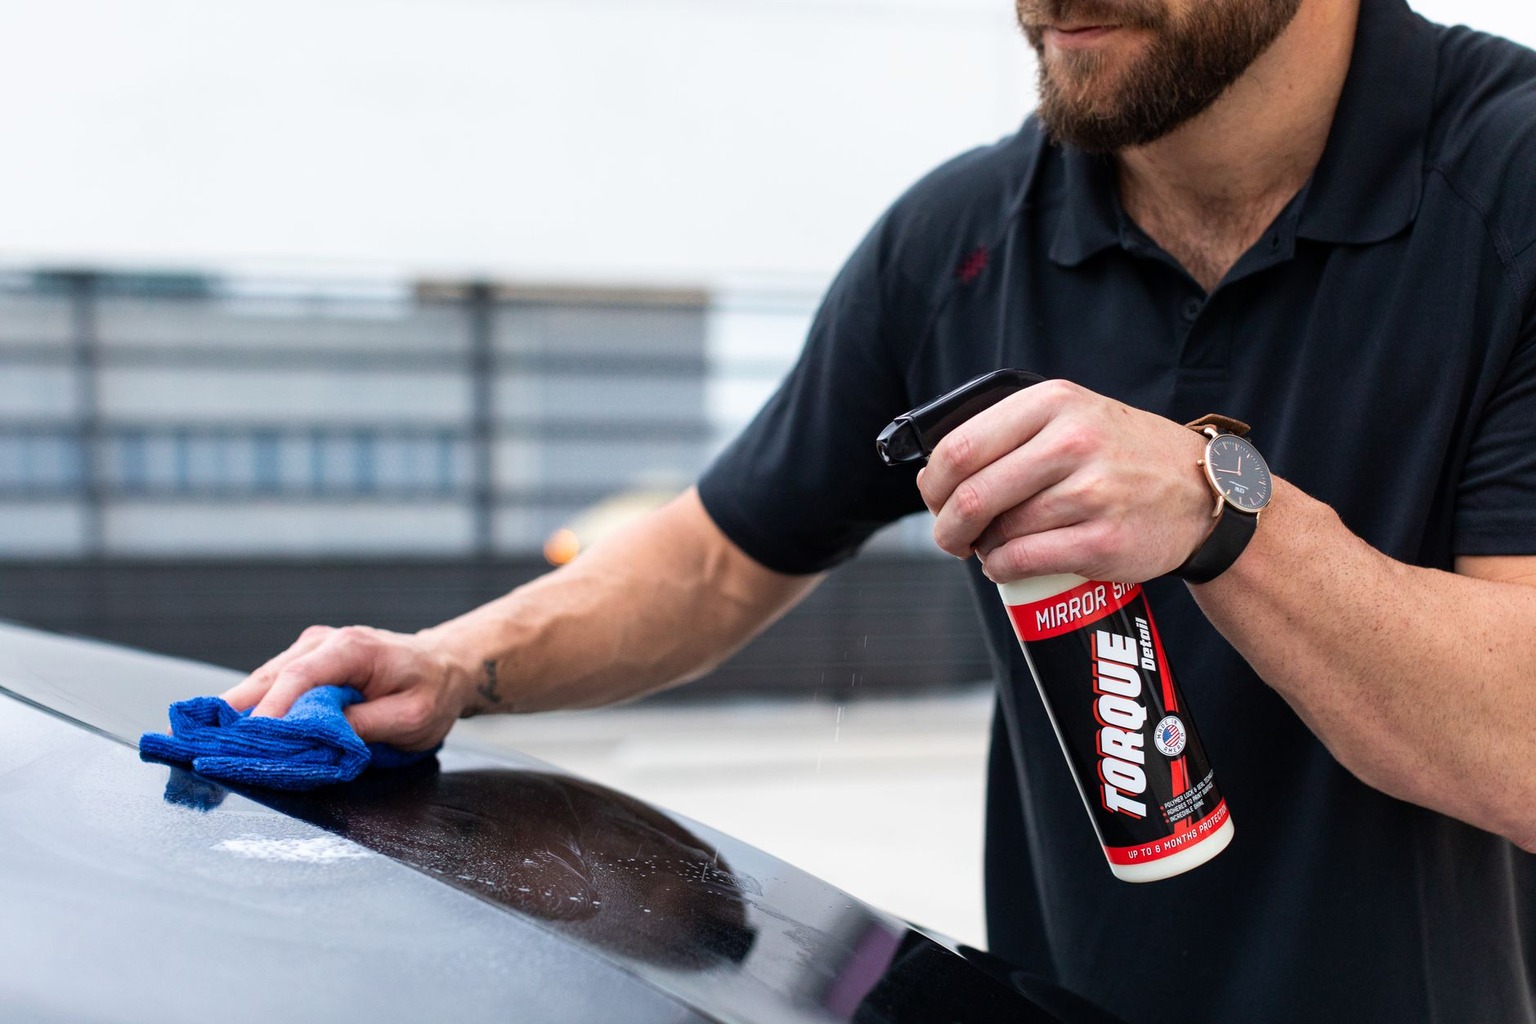
If you’re short on time but still want your car to look its best, waterless car wash sprays are a game-changer for DIY detailing. These products work by breaking down dirt and grime with a blend of solvents and surfactants, allowing you to wipe away contaminants without rinsing. The process is simple: spray the solution onto a microfiber towel, then wipe it across the paint in small sections. The magic happens when the towel absorbs the dirt and residue, leaving a clean, residue-free surface. Unlike traditional washing, which requires rinsing to avoid soap buildup, waterless sprays eliminate the need for water entirely, making them ideal for quick touch-ups between longer detailing sessions.
The best waterless sprays contain ingredients like isopropyl alcohol and specialized detergents that dissolve oils and contaminants without stripping the paint’s wax or sealant. However, they’re not a substitute for a full wash, they’re best used on lightly soiled areas or as a final step after a traditional wash. For example, if you’ve just driven your car and notice light dust or bird droppings, a quick spray and wipe can restore the shine without the hassle of a full rinse. Just be mindful of the product’s instructions, as some formulations can dry too quickly, leaving streaks if not applied evenly. For high-gloss finishes, always use a clean, lint-free microfiber towel to avoid swirl marks.
Choosing the Right Wax: Synthetic vs. Natural for Long-Term Protection
When it comes to DIY car detailing, wax is one of the most debated topics among enthusiasts. Traditional carnauba wax, derived from the leaves of Brazilian palm trees, has been a staple for decades because it provides a deep, natural shine. However, it’s not the most durable option, carnauba wax typically lasts 3-6 months before needing reapplication, and it’s more susceptible to UV degradation. Synthetic waxes, on the other hand, are formulated with polymers and resins that offer longer-lasting protection, often lasting 6-12 months or more. These synthetic blends also tend to be more resistant to heat and environmental contaminants, making them a better choice for vehicles exposed to harsh conditions.
For a complete walkthrough on interior car detailing for beginners, David Walker – Epic Automotive Detailing explains the full process right here.
The choice between natural and synthetic wax often comes down to personal preference and usage. If you prioritize a high-gloss finish and don’t mind reapplying more frequently, carnauba wax can give your car a showroom-worthy look. But if you want durability and easier maintenance, synthetic waxes are the way to go. Some enthusiasts even layer a thin coat of carnauba over a synthetic base to achieve the best of both worlds, durability with a touch of that classic hand-polished shine. Whichever you choose, always apply wax in thin, even coats using a high-quality foam applicator pad to avoid drips and ensure full coverage. A well-applied wax layer can also make future cleaning easier by reducing water spots and making dirt less likely to stick.
Interior Detailing: Beyond the Dash, Deep Cleaning Your Ride
While exterior detailing gets most of the attention, the interior of your car is just as important for both aesthetics and functionality. A well-maintained interior not only looks better but also preserves the value of your vehicle. Start with the seats, vacuuming is a must, but for deep cleaning, consider using a fabric cleaner or leather conditioner depending on your material. For leather, a high-quality conditioner will prevent cracking and keep the material supple, while fabric seats benefit from a gentle cleaner that lifts stains without damaging the fibers. Pay special attention to high-traffic areas like armrests, door panels, and the center console, where dirt and grime accumulate quickly.
Glass cleaning is another often-overlooked step in interior detailing. A streak-free windshield and windows rely on the right tools, a microfiber cloth and a glass-specific cleaner are essential. Avoid using household cleaners like Windex, as they can leave a residue that attracts dust. Instead, opt for a dedicated auto glass cleaner, which evaporates without leaving behind any film. For a deeper clean, you can use a detailer’s brush to remove grime from crevices and vents, but be gentle to avoid damaging delicate plastics. Finally, don’t forget the trunk and cargo area, these spaces often get neglected but can harbor years of dust and debris. A thorough vacuuming and wipe-down here will make your car feel like new.
Tire and Wheel Detailing: The Often-Neglected Details
Most DIY car detailing guides focus on the paint and interior, but tires and wheels are just as critical to your vehicle’s overall appearance, and they’re often the dirtiest parts. Tires, in particular, collect brake dust, road grime, and even small rocks that can embed in the rubber. While you can’t always remove all the buildup without damaging the tread, a good tire brush and wheel cleaner can make a huge difference. Start by spraying a wheel cleaner onto the wheels and tires, then use a stiff-bristled brush to agitate the dirt. For stubborn brake dust, a pH-neutral wheel cleaner is best, as harsh chemicals can corrode aluminum or painted surfaces over time.
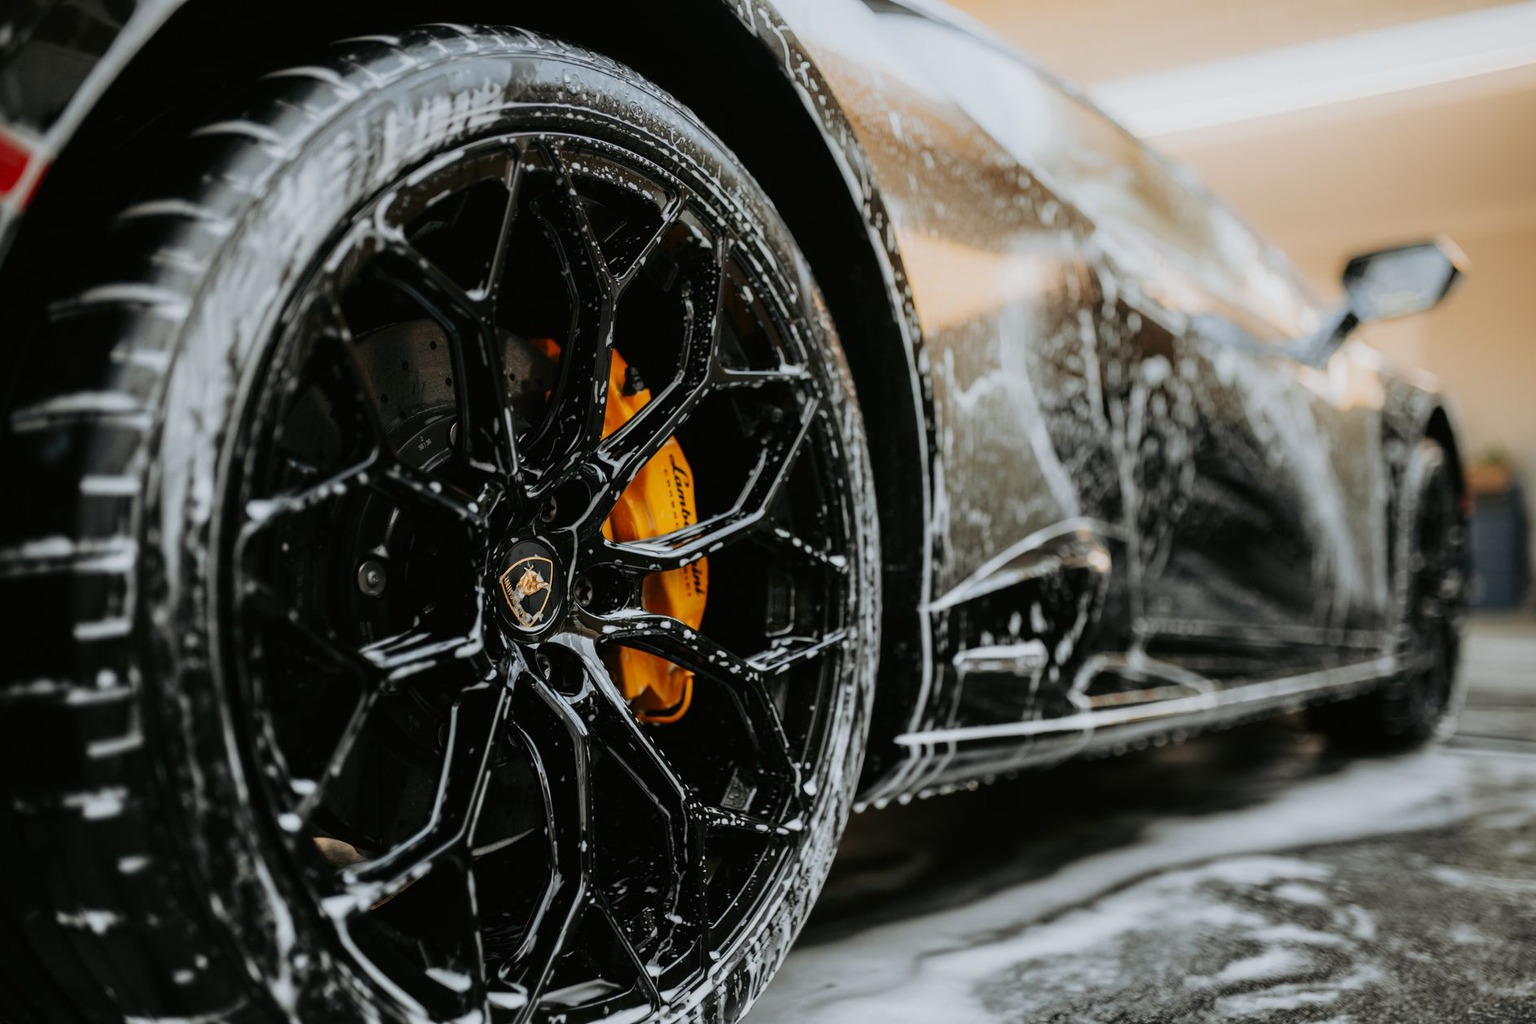
After cleaning the wheels, move to the tires. A tire-specific cleaner or even a degreaser can help break down the grime, but be cautious, some products can dry out the rubber, leading to cracking. Once cleaned, apply a tire dressing to restore the rubber’s flexibility and give it a fresh look. For wheels, especially those with deep grooves or intricate designs, a clay bar can help remove embedded contaminants before applying a final polish or wax. This step ensures that your wheels look as good as the rest of your car, completing the detailing process with a cohesive, showroom-worthy finish. The effort pays off, especially if you’re planning to show off your ride at a car meet or on a weekend drive.
Seasonal Detailing: Adapting Your Routine for Weather and Conditions
Your DIY car detailing routine shouldn’t be static, it should evolve with the seasons and the conditions your car faces. In winter, for example, salt and slush from roads can be particularly harsh on your paint, leading to corrosion and rust if not addressed promptly. After driving in snowy or icy conditions, rinse your car thoroughly to remove salt buildup, then apply a protective wax or sealant to create a barrier against future exposure. In summer, UV rays can cause the clear coat to oxidize and lose its shine, so more frequent waxing or sealant applications are recommended to maintain that glossy finish. Additionally, extreme heat can cause some cleaning products to dry too quickly, so always check the labels and apply them in shaded areas when possible.
For enthusiasts who enjoy off-roading or driving on unpaved roads, dirt and mud can be a constant challenge. In these cases, a clay bar treatment followed by a thorough wash is essential to remove embedded contaminants. After off-roading, it’s also a good idea to inspect your car for any damage, like scratches or dents, and address them promptly. Seasonal detailing isn’t just about aesthetics, it’s about preserving your car’s condition year-round. By adjusting your routine based on the climate and the conditions you drive in, you’ll keep your vehicle looking its best while extending its lifespan. Whether it’s a quick wax job before a summer road trip or a deep clean after winter’s harshest conditions, seasonal attention makes all the difference.

Ever since I bought my first used pickup truck, I’ve been obsessed with finding the perfect blend of off-road capability and weekend comfort. I spend my free time exploring state parks and tinkering with restoration projects in my garage. My writing focuses on how vehicles can enhance your lifestyle and outdoor adventures.