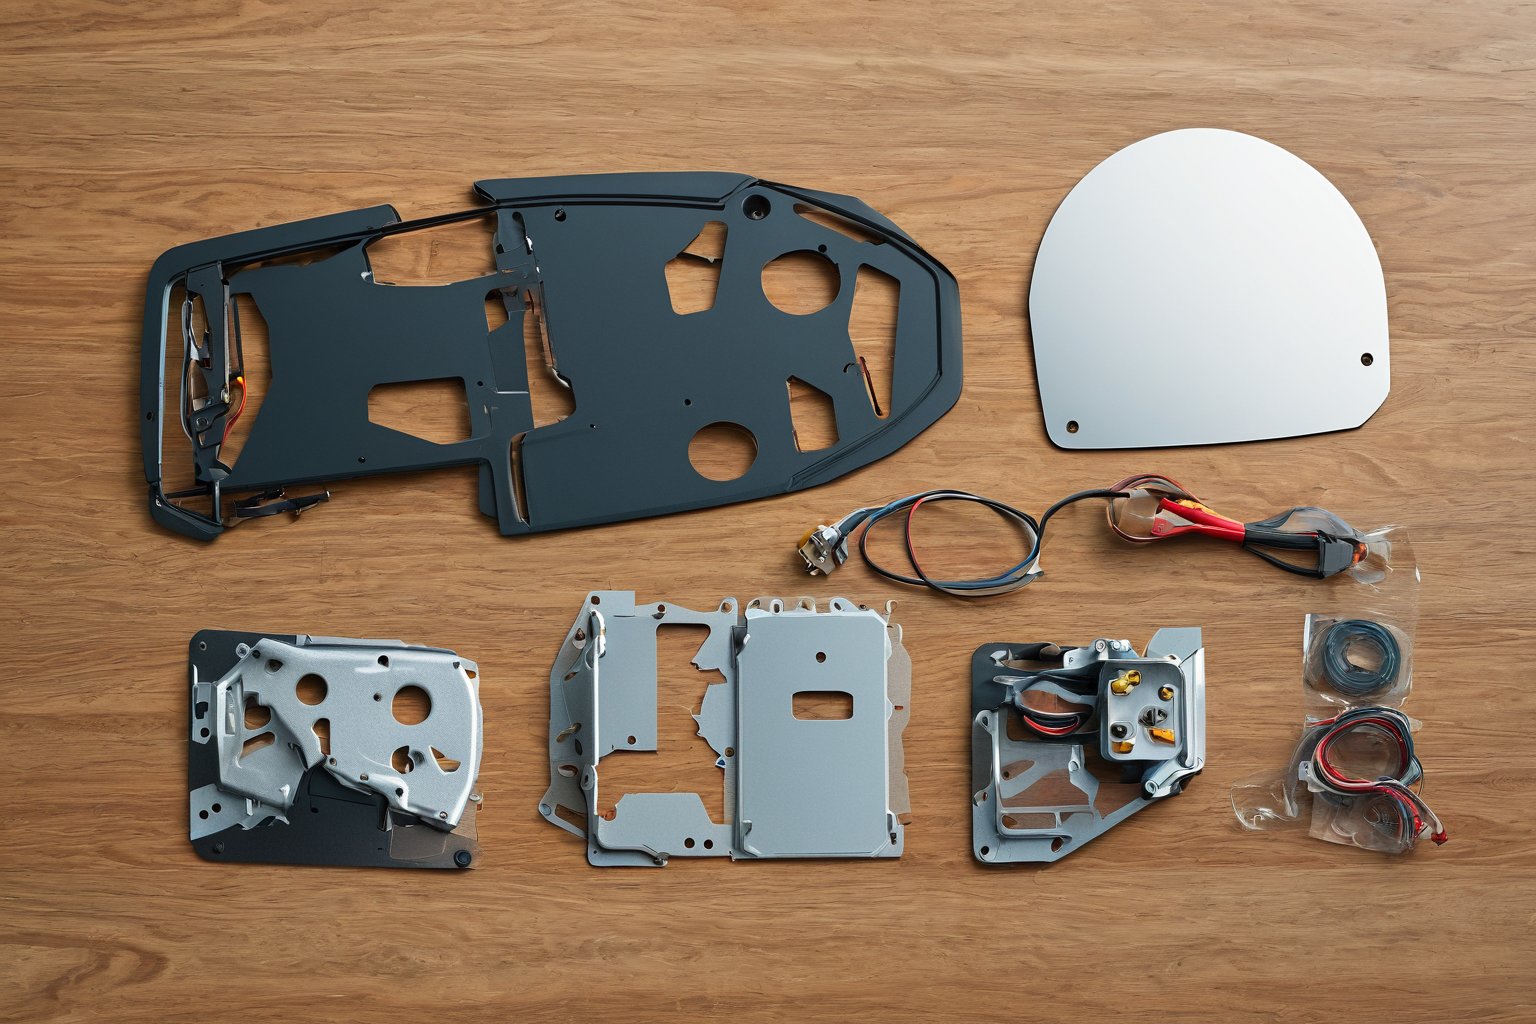
Stepping into the world of vehicle audio transformation can feel overwhelming when you are watching your wallet. Many enthusiasts assume that a noticeable upgrade requires a professional shop visit and a hefty price tag, but that simply is not the case. With a methodical approach and a little patience, equipping your ride with crisp, clear sound is entirely doable as a personal project. The key lies in understanding what to look for before you ever touch a screwdriver, ensuring that the components you choose match both your listening preferences and your vehicle’s specific architecture.
Understanding Speaker Specs and Compatibility
Before spending a dime, grasping the basic specifications of car audio drivers is essential for avoiding costly mistakes. You will frequently encounter terms like “two-way,” “coaxial,” and “component” setups, each offering different sound characteristics and installation complexities. A coaxial design integrates the woofer and tweeter into a single unit, making it the most straightforward choice for beginners who want to replace factory speakers without extensive custom fabrication. Conversely, component systems separate these drivers, allowing for strategic placement that often results in a more expansive soundstage and superior imaging, though they demand more time and planning to mount correctly. Furthermore, paying attention to the mounting depth is critical; many aftermarket car speakers are deeper than the units they replace, which can eat into your trunk space or interfere with window mechanisms if not measured carefully. Sensitivity ratings also play a subtle but important role, indicating how efficiently a speaker converts power into volume, which matters if you are running them off a factory head unit without an external amplifier.
Setting a Realistic Budget Framework
Defining a spending limit early in the process helps narrow the vast sea of available options and prevents the common pitfall of “feature creep” where you keep adding more expensive bells and whistles. For those operating on a strict budget, the sweet spot often resides in the one hundred to two hundred fifty dollar range per pair, which can still yield a dramatic improvement over stock factory units that are often tinny and distorted at higher volumes. In this price bracket, you can expect to find reliable coaxial models from reputable brands that offer balanced mids and highs without breaking the bank. However, if your budget stretches a bit further, investing in a basic component set can provide a more immersive listening experience, especially if you pair the speakers with a modest external amplifier to truly unleash their potential. Remember that cabling and mounting hardware also count toward your total cost, so allocating a small portion of your budget for quality speaker wire and secure mounting brackets is a wise move to ensure a professional-looking finish.
Top Budget-Friendly Speaker Options to Consider
On Breakers Stereo & Performance they explain car audio upgrades—you can watch it right here
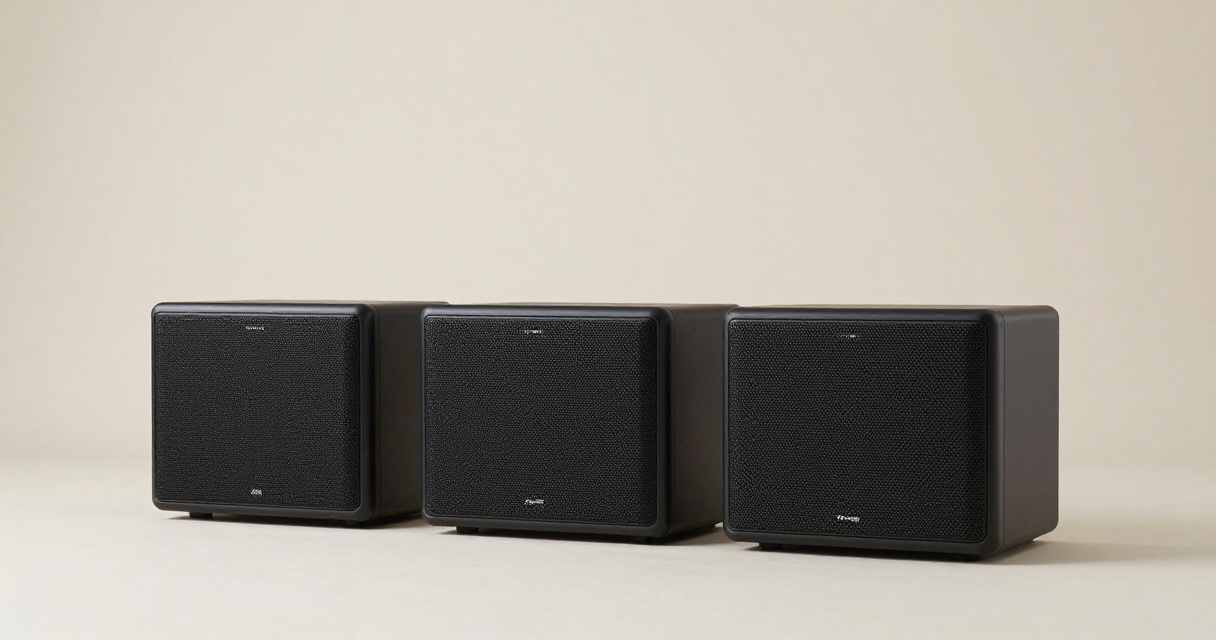
Pioneer TS-A1670I
Pioneer has long been a staple in the car audio market, and the TS-A1670I model exemplifies how a well-engineered coaxial speaker can deliver performance without a premium price tag. These 6×9-inch drivers are designed to fit into common factory locations, which simplifies the replacement process for many owners of older sedans or coupes. The integrated tweeter features a concave design that helps disperse high frequencies evenly, reducing the “beaming” effect often heard with lower-quality units. Listeners will appreciate the balanced sound signature that avoids excessive bass boost, making these a versatile choice for anyone who enjoys a wide variety of music genres without needing to adjust an equalizer constantly.
JBL GTO629
JBL’s GTO629 series brings a level of build quality and sonic clarity that often surprises those accustomed to the cheapest aftermarket car speakers on the market. These 6.5-inch two-way speakers utilize a polypropylene woofer cone that is both lightweight and rigid, allowing for tight, accurate bass response that many budget options struggle to achieve. The pivoting tweeter is a notable feature, as it can be angled directly toward the listener’s ears, which significantly improves the stereo imaging and makes the music feel like it is coming from a cohesive source rather than two separate drivers. For those who enjoy cranking the volume during long highway cruises, the high-temperature voice coils included in these units help handle power more efficiently and resist overheating distortion.
Essential Tools and Preparation Steps
Having the right set of tools on hand before you begin prying apart your dashboard or door panels can make the difference between a smooth afternoon project and a frustrating battle with stubborn clips. A basic set of Phillips and flathead screwdrivers, along with a plastic trim removal tool, is usually sufficient to pop out factory grilles and unscrew the existing drivers without marring the surrounding interior surfaces. It is also highly recommended to have a multimeter or a simple continuity tester available to verify that the factory wiring is intact and that you have identified the correct positive and negative terminals before connecting the new aftermarket car speakers. Furthermore, cleaning the mounting surfaces thoroughly with a mild solvent ensures that any new gaskets or adhesive pads will bond properly, preventing annoying rattles or vibrations that can develop over time as the vehicle ages. Taking a few photos of the wiring harness and speaker positions with your phone before disconnecting anything is a simple step that saves considerable time and guesswork during the reassembly phase.
Wiring and Integration With Factory Head Units
Connecting the new drivers to your existing audio source is often the most intimidating part for first-timers, but with a systematic approach, it becomes a straightforward task of matching colors and functions. Most aftermarket car speakers use standard 2-inch spade connectors or bare wire ends, which means you will likely need to splice into the factory speaker wires rather than plugging in a direct harness. Using crimp connectors or soldering the connections, followed by wrapping them in high-quality electrical tape or heat-shrink tubing, is crucial for preventing corrosion and ensuring a reliable signal path that won’t drop out during a bump in the road. If your factory head unit is relatively modern, you may find that the balance and fade controls still function correctly, allowing you to fine-tune the soundstage to your liking from the driver’s seat. However, if you notice that the audio sounds thin or the bass has disappeared entirely, it is often due to the factory head unit’s built-in signal processing, which may require a simple line-level converter to bridge the gap between the head unit and the new speakers effectively.

Tuning Your System for the Best Possible Sound
Once the physical installation is complete, the real magic happens as you spend time tweaking the system to match your personal taste and the acoustics of your specific cabin. Since most budget setups rely on the factory head unit for power, utilizing the head unit’s built-in equalizer settings can dramatically shape the overall character of the sound, allowing you to boost the lows for more thump or crisp up the highs for greater detail. It is also beneficial to play a variety of test tracks that you know well, paying close attention to how the vocals sit in the mix and whether the instruments feel properly placed across the soundstage. If you find that the bass response is lacking, adding a small, sealed subwoofer box under a seat or in the trunk can provide that extra depth without requiring a massive enclosure or a huge financial investment. Remember that the goal of this hobby is personal enjoyment, so trust your ears and take the time to adjust settings until the music sounds right to you, rather than chasing arbitrary numbers on a specification sheet.

Ever since I bought my first used pickup truck, I’ve been obsessed with finding the perfect blend of off-road capability and weekend comfort. I spend my free time exploring state parks and tinkering with restoration projects in my garage. My writing focuses on how vehicles can enhance your lifestyle and outdoor adventures.