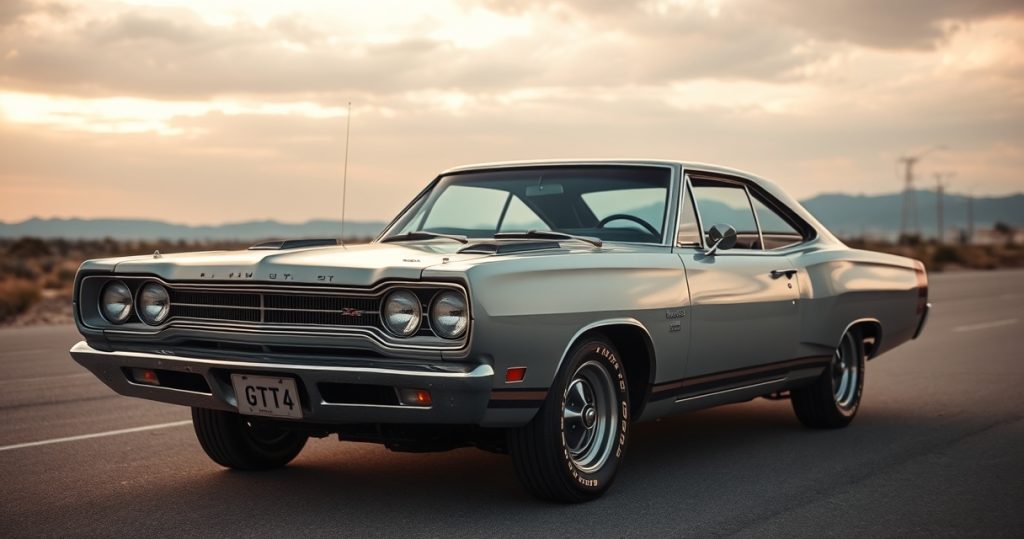
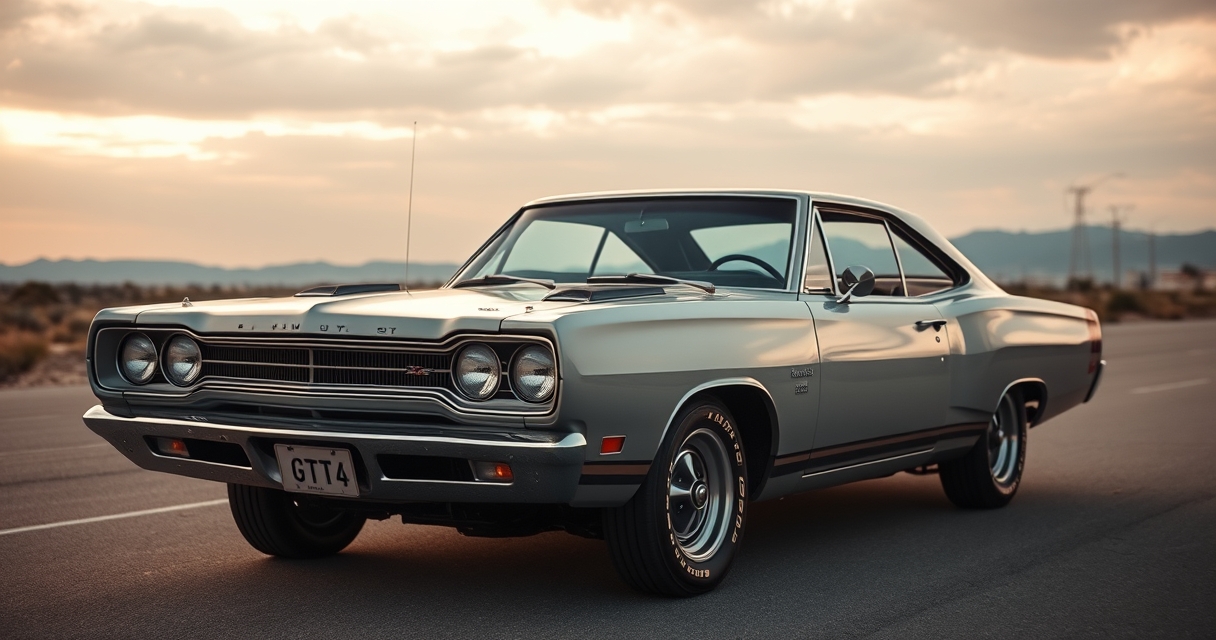
The Plymouth GTX is more than just a car. It is a rolling canvas of chrome, torque, and attitude that begs to be captured in photographs. Whether you are a weekend shutterbug or a seasoned hobbyist, shooting a GTX lets you combine two passions: muscle cars and photography. The car’s aggressive lines, bold colors, and period-correct details reward careful framing and creative lighting. This guide walks you through the gear, settings, locations, and techniques that turn a casual snapshot into a portfolio-worthy image that fellow enthusiasts will admire.
Choosing the Right Gear for Muscle Car Photography
Start with a camera that gives you control over shutter speed, aperture, and ISO. A full-frame DSLR or mirrorless body is ideal because it handles low light better and produces cleaner files when you crop in post. Lenses matter more than megapixels. A 24-70 mm f/2.8 zoom covers most angles without distortion, while a 70-200 mm f/2.8 compresses the GTX’s long hood and flattens the background for a dramatic look. A polarizing filter cuts reflections off chrome bumpers and windshields, and a sturdy tripod keeps horizons straight during golden-hour sessions. If you shoot handheld, use a monopod to steady the camera when you are kneeling or lying on the pavement.
Lighting separates snapshots from professional images. Natural light works best during the first and last hour of daylight, but a pair of speedlights or a portable LED panel can fill shadows when the sun is high. A wireless trigger lets you place one light on the opposite side of the car to highlight the fender contours. Carry a collapsible reflector to bounce sunlight onto the lower grille or rocker panels. For night shots, a continuous LED light bar mounted on a light stand creates streaks of color that follow the GTX’s curves without harsh hot spots.
Accessories round out the kit. A remote shutter release prevents camera shake during long exposures, and a microfiber cloth wipes dust off the paint before you press the shutter. Keep spare batteries and memory cards in a belt pouch so you never miss the perfect moment. If you plan to shoot at car shows, a small step stool helps you get eye-level with the roof without climbing on the car.
Mastering Camera Settings for the Plymouth GTX
The GTX’s glossy paint and sharp edges demand precise exposure. Start with aperture priority mode at f/8 or f/11 for maximum depth of field. This keeps the entire car sharp from the front bumper to the rear spoiler. If the light is uneven, switch to manual mode and use the histogram to avoid blown highlights on chrome or dark shadows in the wheel wells. Set the ISO as low as possible, usually between 100 and 400, to minimize noise in the final image. For action shots, use shutter priority mode at 1/500 second or faster to freeze tire smoke or a driver revving the 440 V8.
White balance is critical when shooting under mixed lighting. Auto white balance often gives the GTX a yellow or blue cast. Instead, use the custom white balance setting or shoot in RAW so you can adjust it later. If you are shooting under sodium-vapor streetlights, set the white balance to 3000 K to keep the car’s color accurate. For daytime shots, 5500 K matches natural sunlight. When you bracket exposures, take three shots at different settings to ensure you capture the full dynamic range of the scene.
Metering mode affects how the camera reads the light. Evaluative metering works for most situations, but spot metering is useful when the GTX is parked against a bright sky or dark background. Focus on the grille or headlight, then recompose the shot. Use single-point autofocus to lock onto the car’s emblem or a specific body line. If the camera hunts in low light, switch to manual focus and use the live view screen to zoom in and fine-tune the sharpness.
Scouting Locations That Complement the GTX’s Era
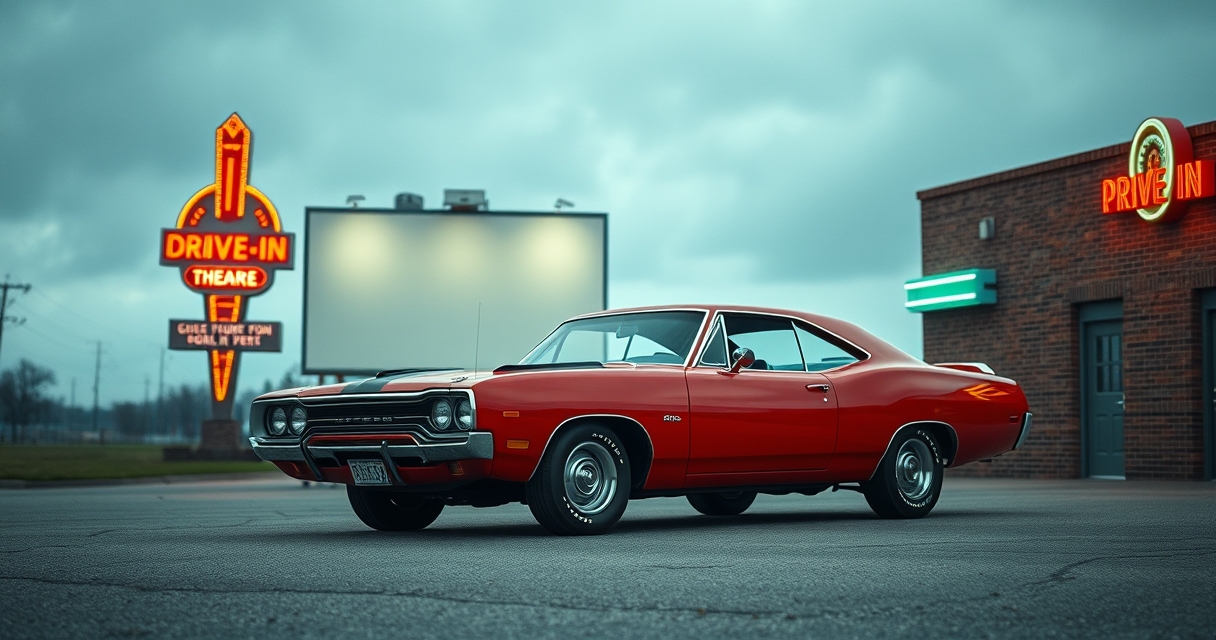
The GTX was born in the late 1960s, so locations that evoke that period add authenticity to your photos. Look for brick walls, neon signs, or diners with vintage signage. A 1970 GTX in Tor-Red parked in front of a 1950s-style drive-in theater instantly tells a story. Industrial settings like old factories or rail yards provide gritty backdrops that contrast with the car’s polished finish. If you shoot in a city, seek out alleys with fire escapes or loading docks to frame the GTX between urban textures.
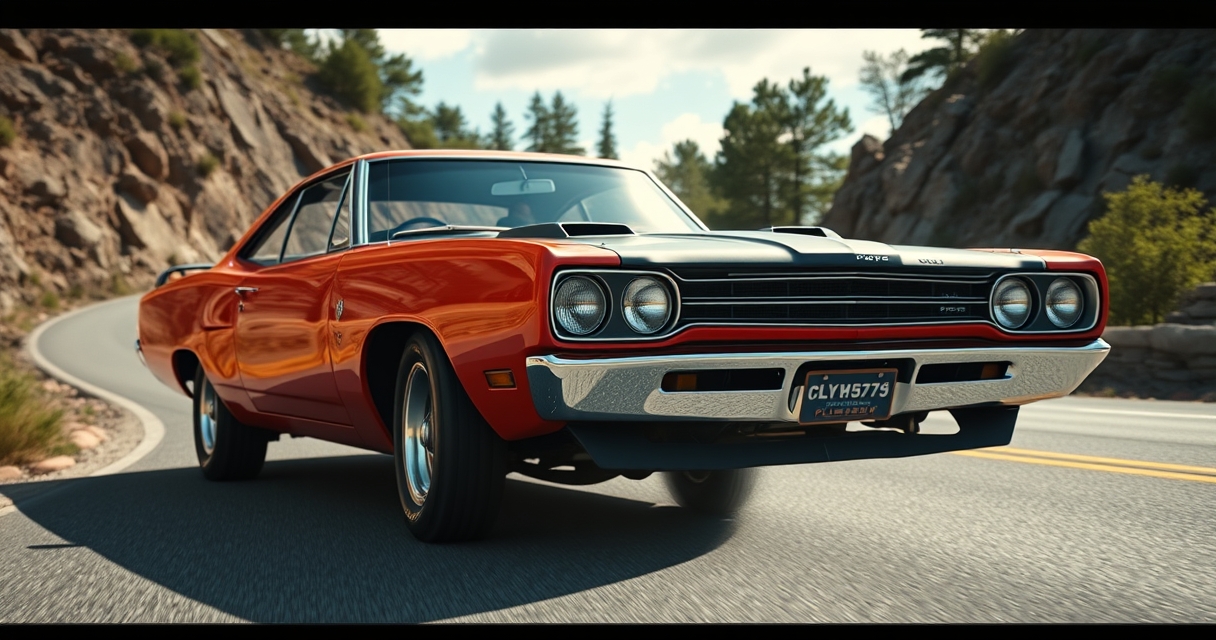
Natural landscapes also work if you match the setting to the car’s character. A GTX with the Air Grabber hood scoop looks at home on a winding mountain road, while a beach or desert scene emphasizes the car’s raw power. Avoid modern distractions like power lines or contemporary buildings that pull the viewer out of the 1960s vibe. If you shoot at a car show, use the other muscle cars as props. Position the GTX next to a Dodge Charger or Chevrolet Chevelle to create a visual conversation between the brands.
Lighting changes the mood of the location. Overcast days soften reflections and let the car’s color pop, while direct sunlight creates strong shadows that highlight the GTX’s sculpted fenders. For night shots, look for locations with ambient light, like a gas station or a neon-lit motel. A long exposure with the GTX’s headlights on and the engine running adds motion to the scene. If you shoot in a parking garage, use the overhead lights to create dramatic highlights on the hood and roof.
Posing the GTX for Maximum Impact
The GTX’s stance is part of its personality. Park the car at a slight angle, with the front wheel turned out to show off the tire tread and wheel design. Lowering the driver’s window or opening the hood invites the viewer into the scene. If the car has the optional 6-barrel carburetor setup, leave the hood open to showcase the engine bay. For a dynamic shot, have a friend sit in the driver’s seat with the door open, as if they just pulled up to a stoplight. This adds a human element without distracting from the car.
Perspective changes how the GTX looks in the frame. A low angle makes the car appear more aggressive, while a high angle flattens the lines and emphasizes the roof and trunk. Shoot from the front quarter to show off the dual headlights and grille, or from the rear to highlight the taillights and chrome bumper. For a close-up, focus on the GTX badge or the Air Grabber scoop to capture the car’s branding. If you shoot at a car show, get down on one knee to avoid including other cars in the background.
Reflections can make or break a shot. Position the GTX so the paint reflects the sky or a colorful building, but avoid reflections of people or modern cars. Use a polarizing filter to reduce glare on the windshield and side windows. If the car is parked on asphalt, a puddle or wet pavement can create a mirror effect that doubles the GTX’s presence in the frame. For a creative twist, shoot through a chain-link fence or a set of blinds to add texture to the image.
Editing Techniques to Enhance Muscle Car Photos
Start in Lightroom or Capture One by adjusting the white balance to match the car’s original color. A 1969 GTX in Plum Crazy should look vibrant, not washed out. Increase the contrast slightly to make the chrome pop, but avoid clipping the highlights on the bumper or grille. Use the tone curve to add punch to the shadows without losing detail in the wheel wells. If the image has a color cast from streetlights, use the HSL panel to desaturate the offending hue while keeping the GTX’s paint true to life.
Sharpening brings out the GTX’s fine details. Apply a mask to the sharpening tool so it only affects the edges of the car, not the smooth surfaces like the hood or roof. Use the clarity slider sparingly to avoid making the paint look artificial. If the image has noise from a high ISO, use the noise reduction tool in the detail panel, but keep the settings low to preserve texture. For black-and-white conversions, increase the contrast and use the color mixer to adjust the tonal values of the reds and blues in the original image.
Retouching removes distractions without altering the car’s character. Clone out dust spots on the paint or scratches on the windshield, but leave the patina on the chrome trim to keep the image authentic. If the background is too busy, use the graduated filter to darken the sky or the radial filter to brighten the GTX. For a vintage look, add a subtle vignette or a film grain effect. Export the final image as a JPEG with a quality setting of 90 to 100 to preserve the details when you share it online or print it for your garage wall.
Building a Portfolio of GTX Photography
A portfolio should tell a story about the GTX’s place in muscle car history. Start with a series of images that show the car from every angle, including close-ups of the badges, wheels, and interior. Include action shots of the car driving on a twisty road or idling at a car meet. If you shoot multiple GTX models, group them by year or color to highlight the differences between a 1967 and a 1971. Add behind-the-scenes shots of your gear setup or the car owner polishing the paint to give viewers a sense of the process.
Online platforms let you share your work with a global audience. Upload your best images to Instagram or Flickr with hashtags like #PlymouthGTX and #MuscleCarPhotography to attract fellow enthusiasts. Create a dedicated album on your website or a photo-sharing site like SmugMug to showcase your GTX portfolio. If you print your work, choose a matte finish to reduce glare and use archival paper to prevent fading. Frame your favorite shots and hang them in your garage or office to inspire your next shoot.
Feedback helps you improve. Join online forums or local car clubs to share your images and get critiques from other photographers. Attend car shows and ask owners if you can shoot their GTX in exchange for a high-resolution image they can use for their own social media. Enter photography contests that focus on automotive subjects to gain exposure. The more you shoot, the more you will develop a style that sets your GTX photography apart from the rest.
Legal and Ethical Considerations for Car Photography
Always get permission before photographing a GTX that does not belong to you. A quick conversation with the owner at a car show or meet can lead to a great shoot and a new connection in the hobby. If you plan to sell prints or use the images commercially, ask the owner to sign a model release form. This protects you from legal issues and ensures the owner is compensated if the image generates revenue. When shooting on private property, like a museum or a dealership, check for signs that prohibit photography or require a permit.
Public spaces have their own rules. Some cities require a permit for professional photography, especially if you use a tripod or lighting equipment. Avoid blocking traffic or sidewalks when setting up your shot. If you shoot in a park or on a beach, follow the local regulations for group size and equipment. Respect the environment by not driving the GTX off-road or leaving trash behind. If you shoot at night, be mindful of neighbors and avoid shining bright lights into homes or businesses.
Ethical editing keeps your work honest. Do not alter the car’s features in a way that misrepresents its condition or history. For example, do not remove rust or dents from a survivor GTX to make it look like a restored show car. If you composite multiple images, disclose it in the caption. When sharing images online, credit the car owner and any collaborators who helped with the shoot. Building a reputation for integrity will make other enthusiasts more likely to trust you with their prized GTX.

Ever since I bought my first used pickup truck, I’ve been obsessed with finding the perfect blend of off-road capability and weekend comfort. I spend my free time exploring state parks and tinkering with restoration projects in my garage. My writing focuses on how vehicles can enhance your lifestyle and outdoor adventures.