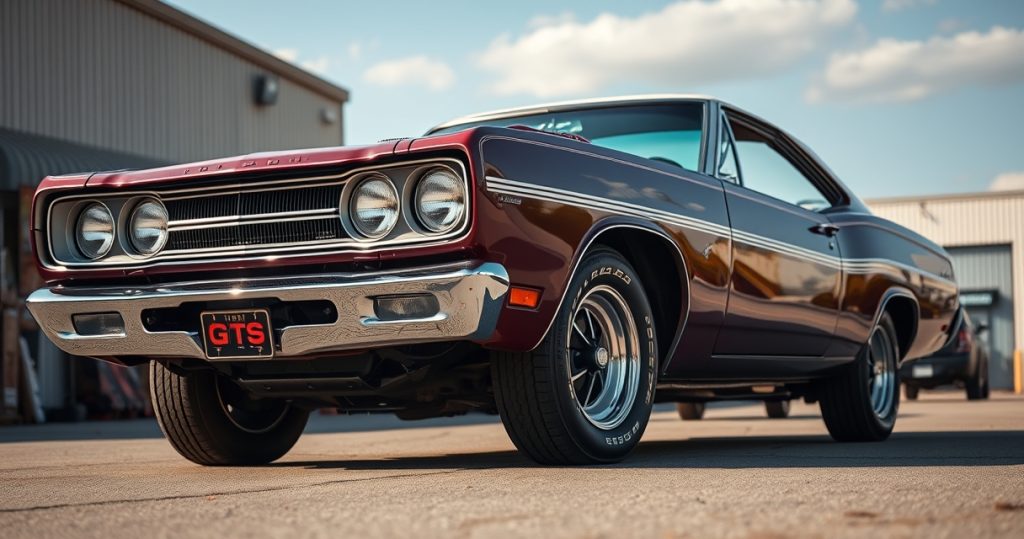
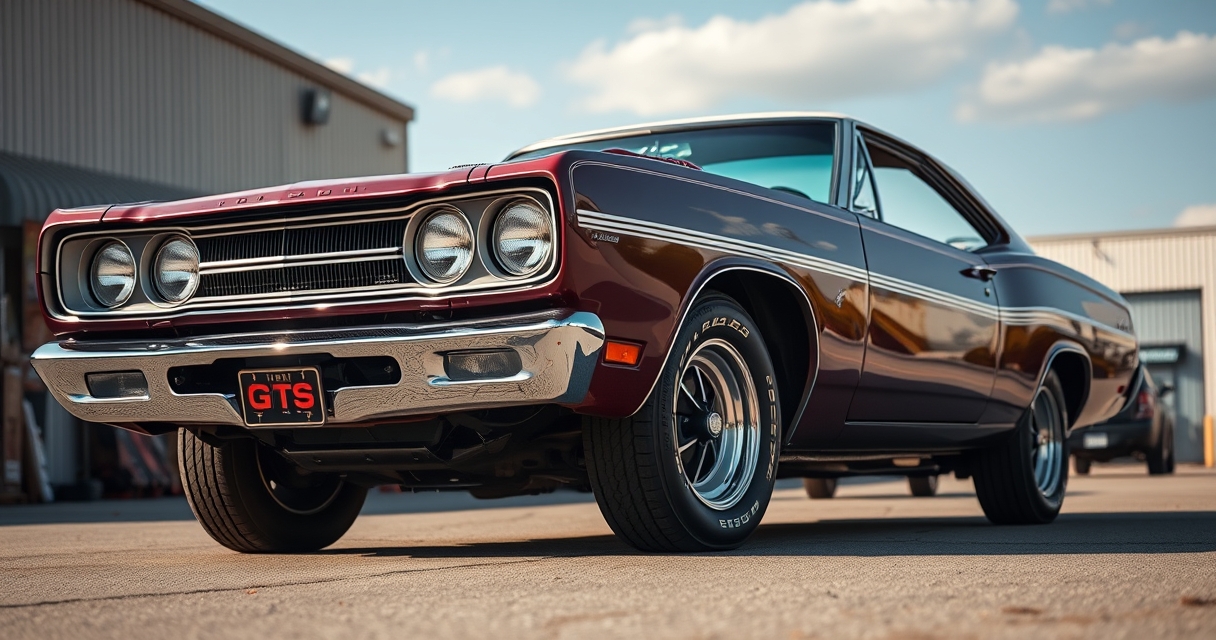
Detailing a Plymouth GTX is not just about making the car shine. It is a ritual that connects you to the golden era of American muscle, a hands-on hobby that rewards patience and precision. The GTX, with its aggressive lines and chrome accents, demands more than a quick wash. It requires a deep understanding of the materials used in the 1960s and 1970s, from the single-stage lacquer paint to the pot-metal trim that oxidizes if neglected. Whether you are preparing for a weekend cruise or a local car show, the process transforms the car from a static machine into a rolling piece of history. The satisfaction comes not only from the mirror-like finish but from knowing every inch of your GTX has been cared for with the respect it deserves.
Choosing the Right Products for a 1960s Muscle Car
Original Plymouth GTX paint is almost always a single-stage lacquer, which means it lacks the protective clear coat found on modern cars. This makes the choice of cleaning and polishing products critical. A pH-neutral car shampoo is the safest starting point, as alkaline or acidic soaps can dull the lacquer over time. For claying, a mild synthetic clay bar paired with a dedicated lubricant removes embedded contaminants without scratching the soft surface. When it comes to polishing, avoid modern compounds with aggressive abrasives. Instead, opt for a fine-cut polish designed for vintage finishes, such as Meguiar’s #7 Show Car Glaze or 3M’s Perfect-It III. These products restore gloss without cutting too deeply into the paint, preserving the original patina that gives the GTX its character.
Chrome and stainless trim require their own set of products. Original GTX bumpers and window surrounds are often pot metal, which corrodes if exposed to harsh cleaners. A dedicated chrome polish, like Simichrome or Blue Magic, removes oxidation without stripping the thin protective layer. For stainless steel, a microfiber applicator and a small amount of metal polish work best, as excessive pressure can create swirls. Always follow up with a protective spray, such as 303 Aerospace Protectant, to shield the metal from future oxidation. The key is to use products that clean without altering the original finish, ensuring the car looks period-correct even after decades of use.
Washing Techniques That Preserve Original Paint
The two-bucket method is non-negotiable when washing a Plymouth GTX. One bucket holds clean water and a grit guard, while the other contains the shampoo solution. This setup prevents dirt from being reintroduced to the paint, reducing the risk of swirl marks. Start by rinsing the car with a pressure washer or hose, using a wide spray pattern to dislodge loose debris. Avoid high-pressure settings, as they can force water into seams and electrical connections. A foam cannon or a high-quality wash mitt, like the Chenille Microfiber Wash Mitt, helps lift dirt without scratching. Work from the top down, starting with the roof and ending with the lower panels, where grime accumulates.
Drying is just as important as washing. A forced-air dryer, such as the Metro Vac Master Blaster, removes water from crevices and door jambs without contact. If you prefer towels, use a dedicated drying towel with a waffle weave, like the Chemical Guys Woolly Mammoth. Pat the surface dry instead of dragging the towel, as friction can create micro-scratches. Pay special attention to areas like the grille and emblems, where water tends to pool. After drying, a quick detailer spray, such as Griot’s Garage Speed Shine, adds a layer of protection and enhances the shine. This step also helps identify any missed spots before moving on to polishing.
Restoring Faded Trim and Emblems Without Replacement
Original GTX trim and emblems often suffer from pitting and oxidation, but replacement parts are either expensive or impossible to find. The solution lies in careful restoration. For pot-metal emblems, start by soaking them in a solution of warm water and baking soda to neutralize corrosion. A soft-bristle toothbrush removes loose oxidation, while a brass brush works for stubborn areas. Once clean, apply a metal polish with a microfiber applicator, working in small circles. The goal is to restore the original luster without removing too much material, as pot metal is thin and prone to wear. For chrome bumpers, a dedicated chrome polish like Mother’s Chrome Polish lifts oxidation and fills minor pits, giving the surface a uniform appearance.
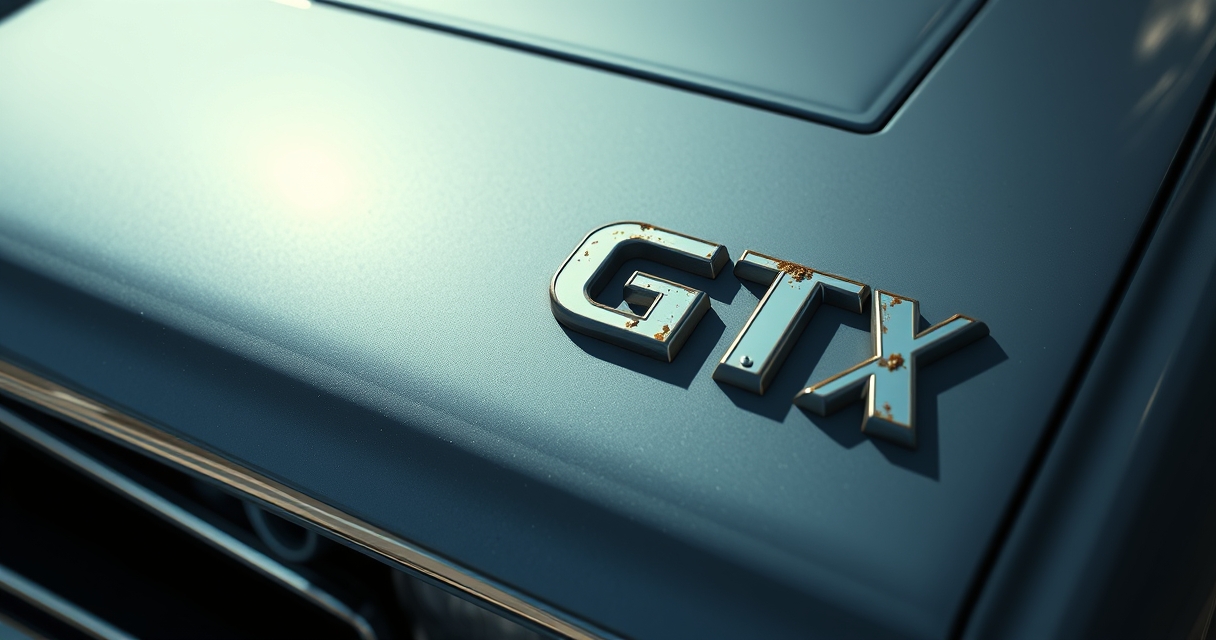
Stainless steel trim, such as the GTX’s side moldings, requires a different approach. A product like Flitz Metal Polish removes oxidation and leaves a protective coating that resists future corrosion. Apply it with a microfiber cloth, buffing in the direction of the grain to avoid swirls. For plastic trim, such as the grille surround, a dedicated plastic restorer like Meguiar’s Ultimate Black restores color and flexibility. Avoid silicone-based products, as they can leave a greasy residue that attracts dust. The key is to work slowly, focusing on one section at a time, and to test products on an inconspicuous area first. With patience, even heavily oxidized trim can be brought back to life.
Polishing and Protecting Single-Stage Lacquer Paint
Single-stage lacquer paint is both a blessing and a curse. It is easier to polish than modern clear-coat finishes, but it lacks the protective layer that shields against UV damage and scratches. The first step is to assess the paint’s condition. If the surface is dull or has light scratches, a fine-cut polish like Meguiar’s #80 Speed Glaze will restore gloss. For deeper imperfections, a compound like 3M’s Perfect-It Rubbing Compound can be used, but it should be followed by a finer polish to refine the finish. Always work in small sections, using a dual-action polisher with a soft foam pad to avoid burning through the paint. The goal is to remove just enough material to level the surface, not to strip the paint entirely.
Once the paint is polished, protection is essential. A high-quality carnauba wax, such as Collinite 845 Insulator Wax, provides a deep, warm shine that complements the GTX’s vintage aesthetic. Apply it with a foam applicator, working in thin, even layers. For longer-lasting protection, a ceramic coating like Gyeon Ceramic Coating can be used, but it requires careful application and curing. The key is to choose a product that enhances the paint’s natural beauty without altering its appearance. After waxing, use a microfiber towel to buff the surface to a high gloss. The result should be a finish that looks period-correct, with a depth and warmth that modern paints cannot replicate.
Interior Detailing for a Showroom-Ready Cabin
The interior of a Plymouth GTX is a time capsule of 1960s design, with vinyl seats, metal dash trim, and a steering wheel that feels substantial in your hands. Start by removing loose debris with a vacuum, using a crevice tool to reach under the seats and between the console. For vinyl upholstery, a dedicated cleaner like Lexol Vinyl Cleaner removes dirt without drying out the material. Apply it with a soft-bristle brush, working in small sections, and follow up with a conditioner like 303 Aerospace Protectant to restore flexibility. Avoid silicone-based products, as they can leave a slippery residue that attracts dust.
The dashboard and door panels require special attention. Original GTX dashboards are often made of painted metal, which can crack if exposed to harsh cleaners. A mild all-purpose cleaner, such as Simple Green, diluted with water, safely removes grime without damaging the finish. For the gauges, a microfiber cloth and a small amount of glass cleaner restore clarity. The steering wheel, often wrapped in thin vinyl, benefits from a dedicated leather conditioner, even if it is not actual leather. Apply it sparingly, buffing off any excess to avoid a greasy feel. The goal is to make the interior look and feel like it did when the car rolled off the assembly line, with every surface clean and supple.
Engine Bay Cleaning Without Damaging Vintage Components
The engine bay of a Plymouth GTX is a mechanical work of art, with its 440-cubic-inch V8 and chrome valve covers. Cleaning it requires caution, as vintage wiring and ignition components are sensitive to water and harsh chemicals. Start by covering the distributor, alternator, and carburetor with plastic bags to prevent water intrusion. A degreaser like Simple Green, diluted to the manufacturer’s specifications, loosens grime without damaging rubber hoses or painted surfaces. Apply it with a soft-bristle brush, working from the top down, and rinse with a low-pressure hose. Avoid high-pressure washers, as they can force water into electrical connections and cause corrosion.
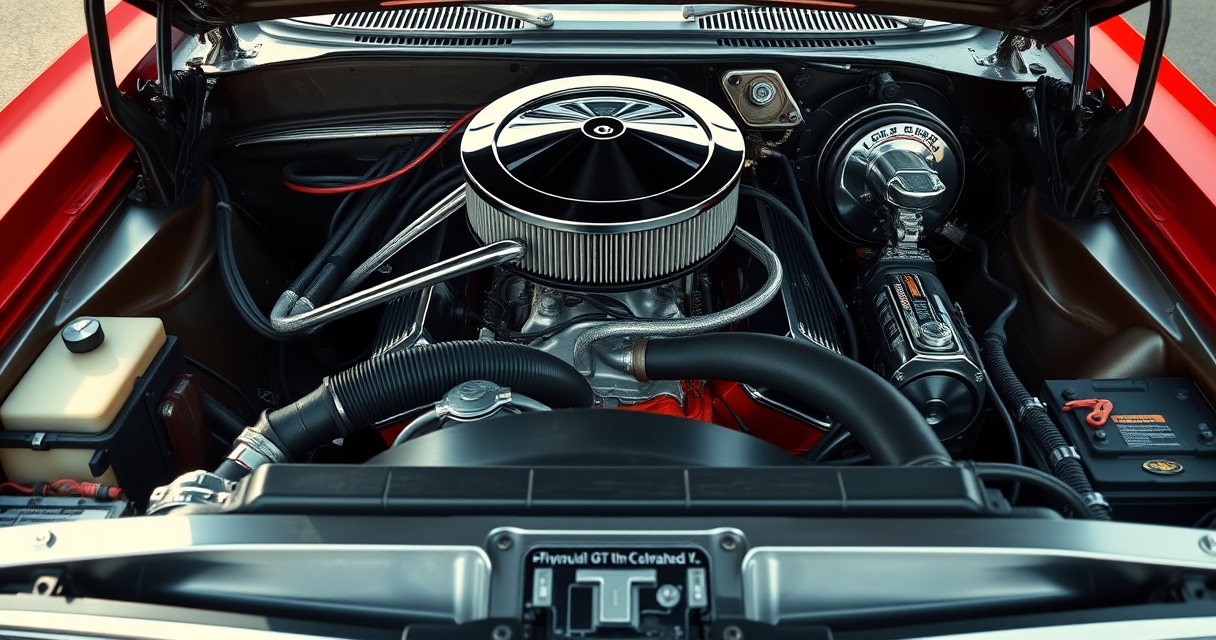
Once the engine bay is clean, dry it with a forced-air dryer or compressed air, paying special attention to areas like the firewall and fender wells. For metal surfaces, a dedicated engine bay dressing like Meguiar’s Hyper Dressing adds a subtle shine without attracting dust. Apply it sparingly, using a microfiber applicator, and buff off any excess. For rubber hoses and belts, a conditioner like 303 Aerospace Protectant prevents cracking and keeps them supple. The key is to strike a balance between cleanliness and preservation, ensuring the engine bay looks impressive without compromising functionality. A well-detailed engine bay not only enhances the car’s appearance but also makes future maintenance easier.
Final Touches for a Concours-Level Finish
The difference between a clean GTX and a concours-level finish lies in the details. Start with the wheels, which often have original hubcaps and bias-ply tires. A dedicated wheel cleaner, like Sonax Full Effect, removes brake dust and road grime without damaging the finish. For the tires, a water-based tire dressing like Meguiar’s Endurance Tire Gel provides a natural, non-greasy shine. Apply it with a foam applicator, working in thin layers to avoid sling. The windows should be cleaned with a dedicated glass cleaner, such as Stoner’s Invisible Glass, and a microfiber towel to avoid streaks. Pay special attention to the inside of the windshield, where film from dashboard plastics can accumulate.
The final step is a thorough inspection. Walk around the car with a flashlight, checking for missed spots or imperfections. A quick detailer spray, like Griot’s Garage Speed Shine, removes dust and adds a layer of protection. For the exhaust tips, a metal polish like Mother’s Mag & Aluminum Polish restores shine and removes carbon buildup. The goal is to present a car that looks as good as it did when it left the dealership, with every surface clean, protected, and period-correct. The effort is worth it, as a well-detailed GTX turns heads at car shows and cruises alike, a testament to the care and passion of its owner.

Ever since I bought my first used pickup truck, I’ve been obsessed with finding the perfect blend of off-road capability and weekend comfort. I spend my free time exploring state parks and tinkering with restoration projects in my garage. My writing focuses on how vehicles can enhance your lifestyle and outdoor adventures.