
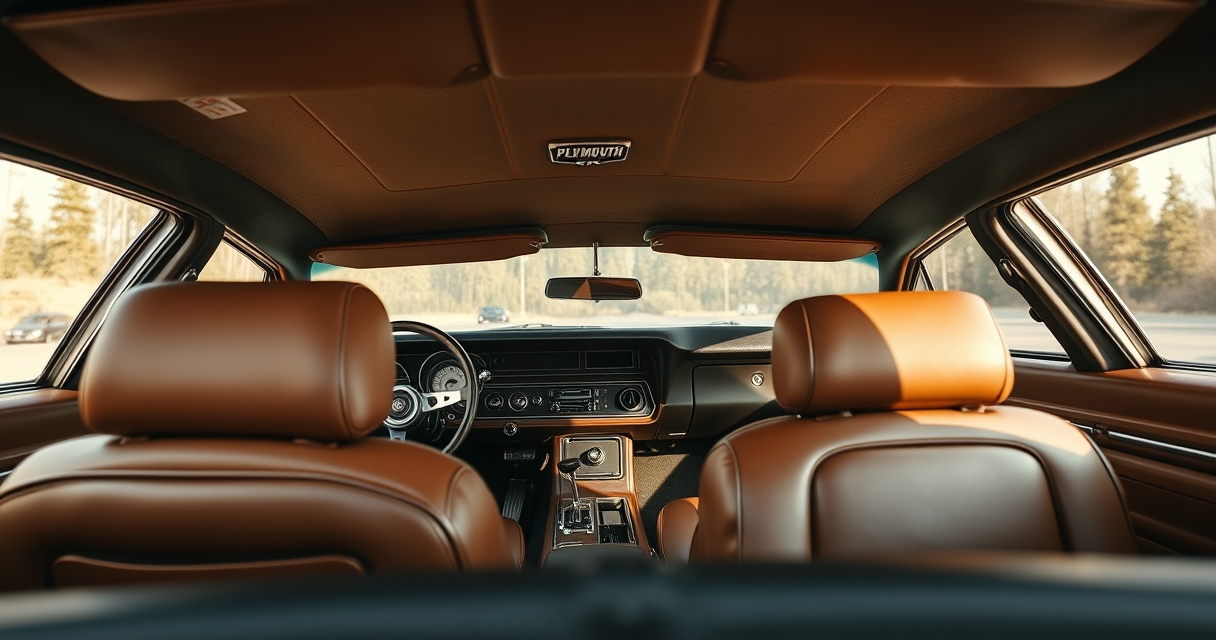
The Plymouth GTX is considered one of the most iconic muscle cars from the late 1960s, with an interior that tells a story as vivid as the chrome-shiny exterior. Restoring that cabin to its original glory is a rewarding project for any classic‑car enthusiast who values authenticity and craftsmanship. From the walnut‑styled dash to the plush vinyl seats, each component can reveal decades of wear, water damage, or even unexpected botanical growth. A thorough interior restoration not only improves the driving experience but also protects the vehicle’s value for future collectors. This guide walks through the essential steps, tools, and resources needed to bring a 1969‑70 Plymouth GTX interior back to showroom condition, while respecting the car’s historical integrity.
Evaluating the Original Interior Condition
Before any disassembly begins, a systematic inspection of every interior element is crucial. Start by documenting the dashboard, instrument cluster, steering wheel, seat upholstery, carpet, and headliner, noting any cracks, fading, or water stains. Pay special attention to the walnut‑styled dash panel, which often suffers from sun‑induced discoloration and surface scratches. The original gauge cluster, with its distinctive orange backlight, may exhibit dimming bulbs or corroded wiring that can affect readability. Seats typically feature vinyl or leatherette surfaces that can become brittle over time, while the underlying foam may have collapsed, leading to sagging. A detailed photo log and written checklist help track progress and guide the sourcing of replacement parts.
In many cases, interior components have been exposed to harsh climates, resulting in mold growth or pest infestation. For example, some GTX owners have discovered plant seedlings sprouting from carpet fibers after years of storage in damp garages. Such biological intrusion not only creates an unsightly mess but also accelerates the decay of underlying padding. When evaluating the condition, gently lift the carpet to inspect the sub‑floor for rot or rust, and test the floor pan for structural soundness. This comprehensive assessment forms the foundation for a restoration plan that balances originality with durability.
Sourcing Authentic Materials and Parts
Finding period‑correct materials can be the most challenging aspect of a GTX interior restoration, but the market offers several reliable avenues. Dedicated Mopar salvage yards often carry original dash panels, instrument clusters, and seat frames that match the 1969‑70 specifications. When original components are scarce, reputable reproduction specialists provide high‑quality replicas that replicate the look and feel of the factory parts, such as walnut‑grain dash inserts and chrome‑trimmed gauge bezels. Online forums and classic‑car clubs frequently host members willing to trade or sell rare items, and many have built extensive libraries of scanned part numbers and photographs to verify authenticity.
Upholstery suppliers that specialize in vintage automotive fabrics are essential for recreating the GTX’s signature seats. Vinyl options should match the original 1965‑70 color palette, typically a deep tan or black with subtle grain patterns. For those preferring a more comfortable ride, modern foam cores can be installed beneath the original vinyl, preserving the visual appearance while providing improved support. When selecting carpet, look for 12‑by‑12‑inch tiles made from nylon or polypropylene that mimic the original pile height and texture. Pairing these authentic materials with careful craftsmanship ensures the restored interior remains true to the car’s heritage.
Restoring the Dashboard and Instrument Cluster
The dashboard is the visual centerpiece of the GTX cabin, and its restoration begins with gentle cleaning of the walnut‑styled surface. Use a mild soap solution and a soft microfiber cloth to remove surface grime, then apply a walnut‑tone conditioner that penetrates the wood grain without darkening the finish. For deeper scratches, a fine‑grit sanding pad followed by a matching wood filler can restore smoothness before re‑polishing. Attention to the surrounding chrome trim is equally important; a non‑abrasive metal polish will revive the reflective shine without risking damage to the surrounding vinyl.

Instrument clusters demand both aesthetic and electrical attention. Remove the cluster carefully, noting the wiring harness connections for later reassembly. Clean the glass lenses with an automotive glass cleaner, and replace any dimming bulbs with period‑correct 12‑volt incandescent units to retain the original glow. If the cluster’s circuitry shows signs of corrosion, a thorough cleaning with contact cleaner and a re‑tinning of solder points can restore reliable operation. Some restorers opt to upgrade to LED bulbs for brighter illumination, but it is advisable to choose LEDs that match the original color temperature to avoid anachronistic visual cues.
Reconditioning Seats and Upholstery
Seat restoration begins with the removal of the original upholstery, a process that often reveals deteriorated foam and rusted frame brackets. Take care to label each bolt and clip to simplify reassembly, and inspect the metal seat frames for cracks or corrosion. Any compromised sections should be repaired with TIG welding or replaced with fabricated steel brackets that replicate the original dimensions. Once the frame is sound, replace the aging foam with high‑density polyurethane that offers modern comfort while maintaining the classic seat silhouette.
Upholstery installation is a meticulous task that benefits from professional-grade tools. Begin by cutting the new vinyl or leatherette to the exact pattern of the original, accounting for seams and stitching lines. Use an industrial sewing machine to recreate the factory stitching, typically a double‑stitch along the seat edges for durability. When fitting the upholstery, employ a heat gun to gently stretch the material over the frame, ensuring a tight, wrinkle‑free finish. Finally, apply a protective sealant that guards the vinyl against UV fading and cracking, extending the life of the restoration for years to come.
Carpets, Floor Mats, and Sound Insulation
Floor carpet replacement offers an opportunity to improve both aesthetics and acoustic performance. Original GTX carpets were often installed in 12‑by‑12‑inch tiles, a format that simplifies replacement of damaged sections. When selecting new carpet, choose a material that replicates the classic pile height, typically around 1.5 mm, and matches the factory color of beige or light gray. Install a moisture‑resistant underlayment beneath the carpet to prevent future water damage and to dampen road noise, a feature that many owners overlook during restoration.
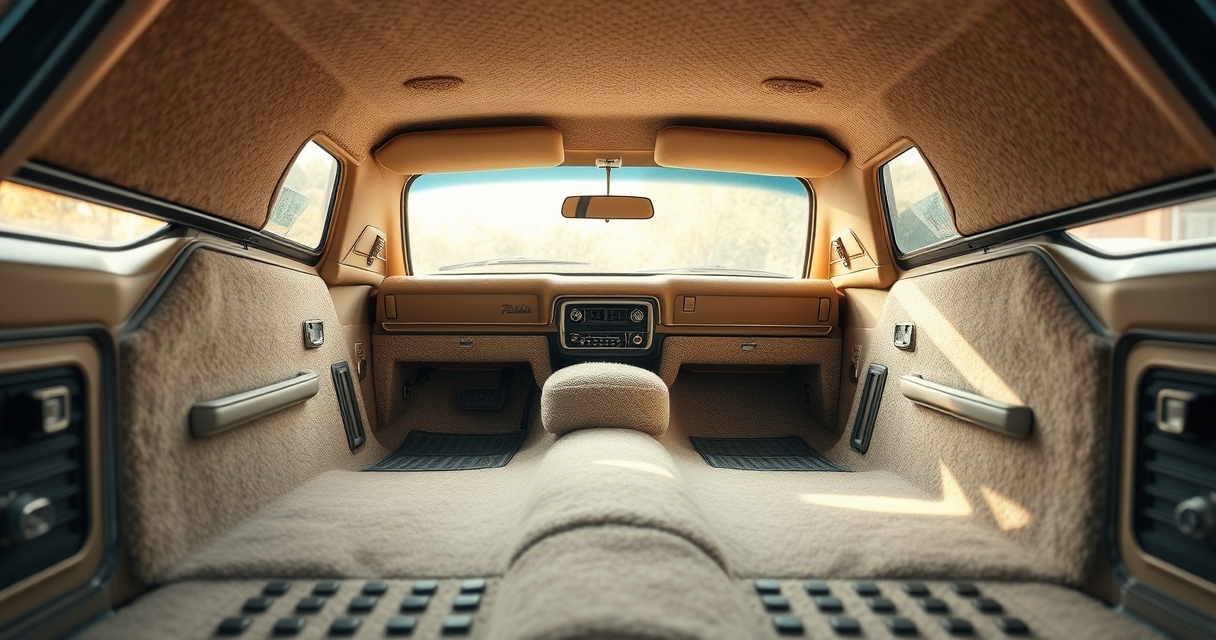
Floor mats should be fabricated from durable rubber or molded vinyl that mirrors the original design, including the distinctive GTX badge and stitching. For added authenticity, emboss the brand logo onto the mat surface using a heat‑press technique. Sound insulation can be upgraded by applying closed‑cell foam or mass‑loaded vinyl to the floor pan and door panels, which reduces vibration without altering the interior’s visual character. These modern materials work in harmony with the classic look, delivering a quieter ride while preserving the vehicle’s historic charm.
Finishing Touches and Documentation
With the major components restored, attention turns to the finer details that complete the interior’s authenticity. Reinstall original trim pieces such as door handles, seat belt buckles, and the steering column shroud, ensuring each piece is cleaned and polished before placement. Badges and emblems should be inspected for fading; if necessary, replace them with factory‑spec replicas that retain the original chrome finish. Apply a thin layer of UV‑resistant clear coat to exposed wood and metal surfaces to protect against future sun damage, and consider a light dusting of interior protectant on the dash and console to keep dust from settling.
Documenting the restoration process is essential for both personal satisfaction and future resale value. Capture high‑resolution photographs of each step, from disassembly through final installation, and keep a log of parts used, sources, and any modifications made. This record not only serves as a reference for future maintenance but also provides prospective buyers with confidence in the vehicle’s condition. By preserving the story behind the restoration, owners celebrate the GTX’s legacy while ensuring its interior remains a testament to meticulous craftsmanship.

Ever since I bought my first used pickup truck, I’ve been obsessed with finding the perfect blend of off-road capability and weekend comfort. I spend my free time exploring state parks and tinkering with restoration projects in my garage. My writing focuses on how vehicles can enhance your lifestyle and outdoor adventures.