

Understanding Exterior Detailing for the Plymouth GTX
The Plymouth GTX, a classic American muscle car, is renowned for its bold lines and powerful performance. Exterior detailing is essential for maintaining the vehicle’s aesthetics and value. This process goes beyond a simple wash, involving meticulous steps to rejuvenate the car’s exterior surfaces. Proper detailing not only enhances the car’s appearance but also protects it from environmental elements, ensuring that the GTX retains its iconic look for years to come. Enthusiasts and collectors alike appreciate the importance of keeping their GTX in top condition, making exterior detailing an integral part of car ownership.
Essential Tools and Supplies for Detailing
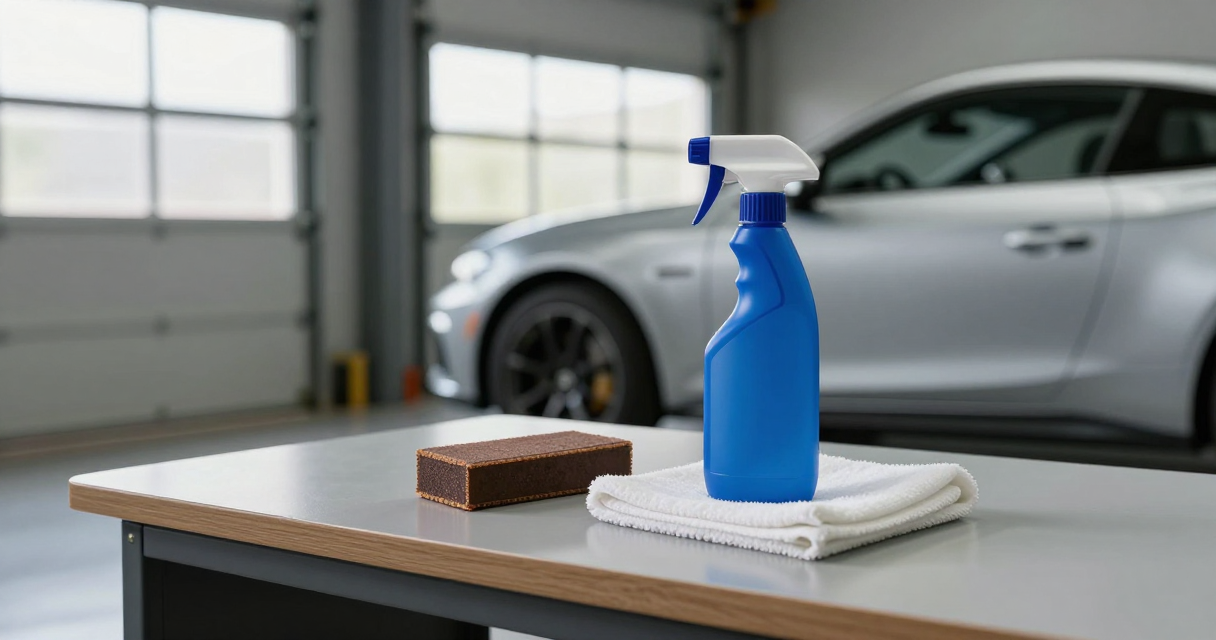
Before diving into the exterior detailing process, having the right tools and supplies is crucial. A high-quality car wash soap specifically designed for automotive paint is essential to avoid damaging the surface. Soft microfiber towels, foam applicators, and detailing brushes will help reach every nook and cranny. Additionally, a clay bar is vital for removing embedded contaminants that washing alone cannot eliminate. Wax and sealants are also necessary for providing a protective layer against UV rays and pollutants. Investing in a good pressure washer can also be beneficial for rinsing off dirt and grime effectively.
Step-by-Step Car Wash Process
The first step in detailing the Plymouth GTX is to perform a thorough wash. Start by rinsing the car with water to remove loose dirt and debris. Next, using a two-bucket method, one for soapy water and the other for rinsing, gently wash the car from top to bottom. This technique prevents dirt from scratching the paint. Pay special attention to the wheels and tires, as they often accumulate brake dust and grime. Using a dedicated wheel cleaner and a soft brush ensures that these areas are adequately cleaned without damaging the finish. After washing, rinse the car thoroughly and dry it with clean microfiber towels to prevent water spots.
Claying the Surface
After washing, the next step is to use a clay bar to remove any remaining contaminants from the paint surface. This process is vital for achieving a smooth and glossy finish. To use the clay bar, first, lubricate the surface with a detailing spray. Then, gently glide the clay bar over the paint, applying light pressure. You’ll notice the clay picking up embedded dirt and grime that washing did not remove. This step is crucial for preparing the surface for polishing and waxing, as it enhances the adhesion of products applied afterward. Once complete, wipe down the surface with a microfiber towel to remove any residue.
Polishing for a Flawless Finish
Polishing the exterior of the Plymouth GTX is where the transformation truly begins. This process helps to eliminate light scratches, swirl marks, and oxidation that may have accumulated over time. Using a dual-action polisher and a suitable polish, apply the product in a controlled manner. Work in small sections, using overlapping passes to ensure even coverage. Polishing not only enhances the shine but also prepares the paint for the final protection layer. It’s important to choose a polish that suits the condition of the paint; for example, a more abrasive polish may be necessary for heavily oxidized surfaces, while a finer polish can be used for minor imperfections.
Applying Wax and Sealant
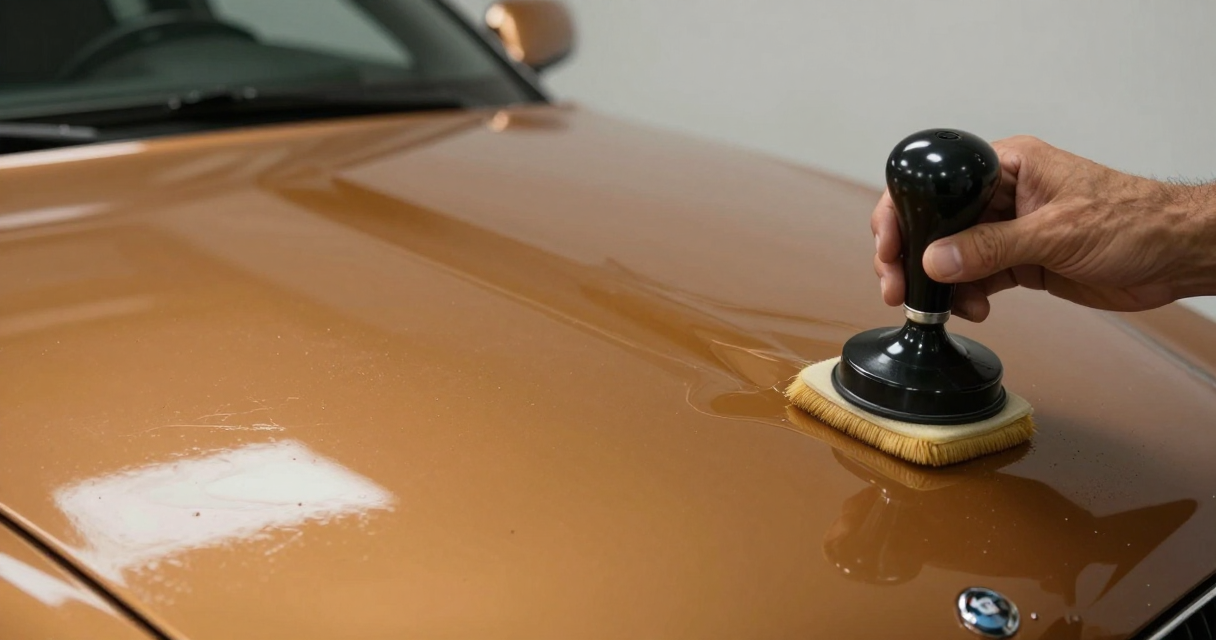
Once polishing is complete, the next step is to protect the freshly detailed surface with a high-quality wax or sealant. Wax provides a warm, deep shine and is ideal for classic cars like the Plymouth GTX, as it enhances the vehicle’s vintage appeal. On the other hand, synthetic sealants offer longer-lasting protection against UV rays and environmental contaminants. Applying wax or sealant involves using an applicator pad to spread the product evenly across the surface. Allow it to haze before buffing it off with a clean microfiber towel. This final touch not only adds shine but also creates a barrier that helps maintain the car’s appearance over time.
Detailing the Trim and Glass
Exterior detailing extends beyond the paint; it also includes attention to trim and glass. Plastic and rubber trim can fade and discolor over time, so using a trim restorer can rejuvenate these surfaces. Apply the restorer with a microfiber applicator, ensuring even coverage. For glass, a dedicated glass cleaner will help remove streaks and ensure clarity. It’s important to clean the glass inside and out, as this enhances visibility and overall appearance. Regularly detailing these areas contributes to the vehicle’s aesthetics and helps maintain its value in the classic car market.
Maintaining Your Exterior Detailing
Proper maintenance after detailing is key to keeping the Plymouth GTX in pristine condition. Regular washes, ideally every two weeks, will help prevent dirt buildup and maintain the protective layer of wax or sealant. Additionally, consider using a quick detailer spray between washes to keep the paint looking fresh. For those who drive their GTX frequently, a ceramic coating may be an excellent long-term solution, providing enhanced protection and reducing the frequency of detailing needed. Keeping the car covered when not in use can also shield it from harmful UV rays and environmental pollutants, ensuring it remains a show-stopper on the road.

Ever since I bought my first used pickup truck, I’ve been obsessed with finding the perfect blend of off-road capability and weekend comfort. I spend my free time exploring state parks and tinkering with restoration projects in my garage. My writing focuses on how vehicles can enhance your lifestyle and outdoor adventures.